

X
Click here to view all steps
Don't show me again

Steps
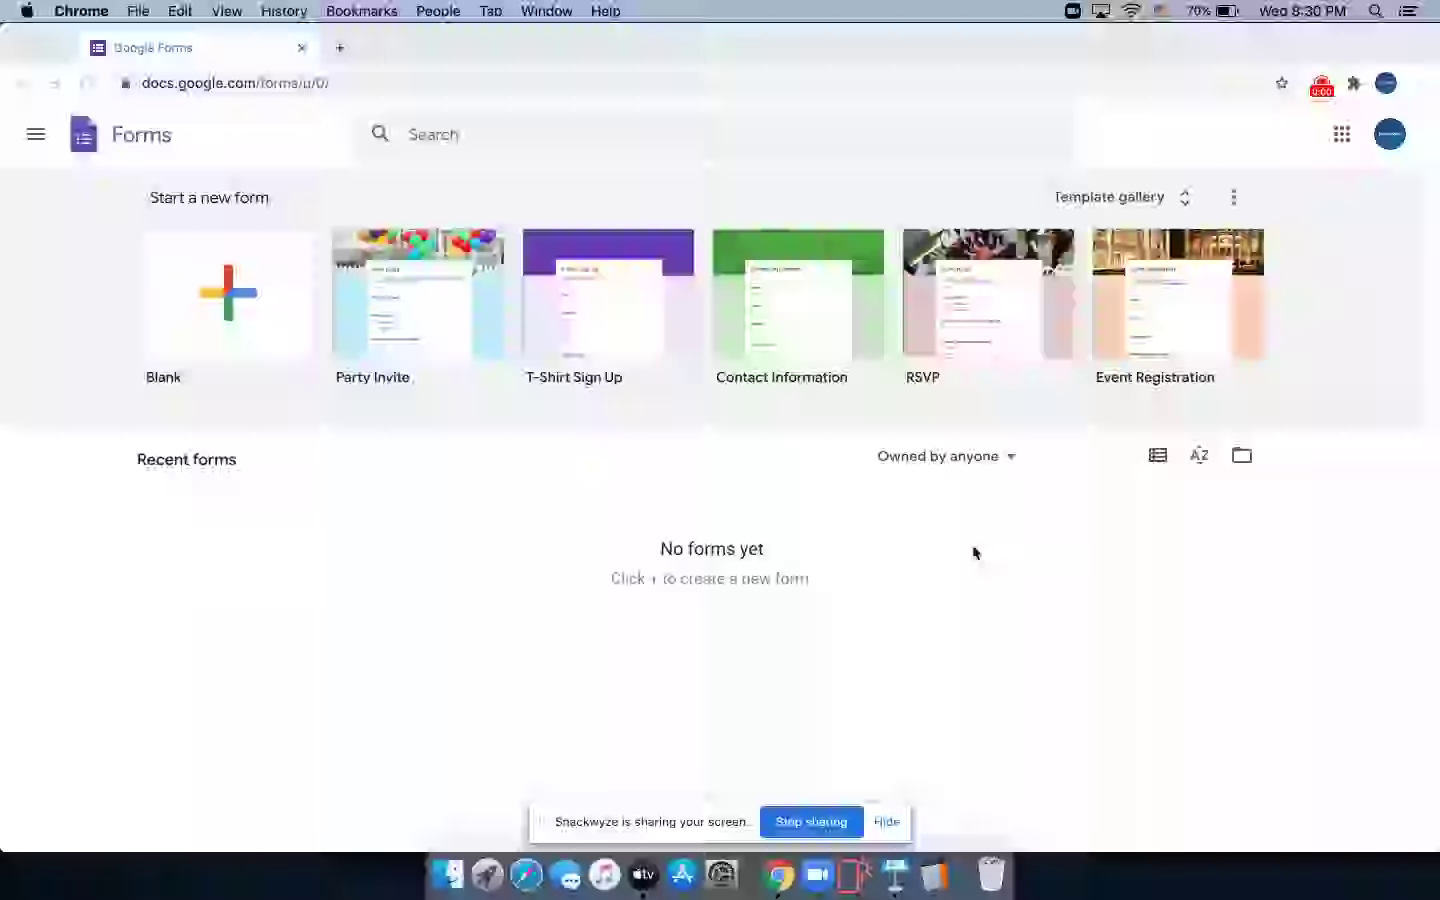
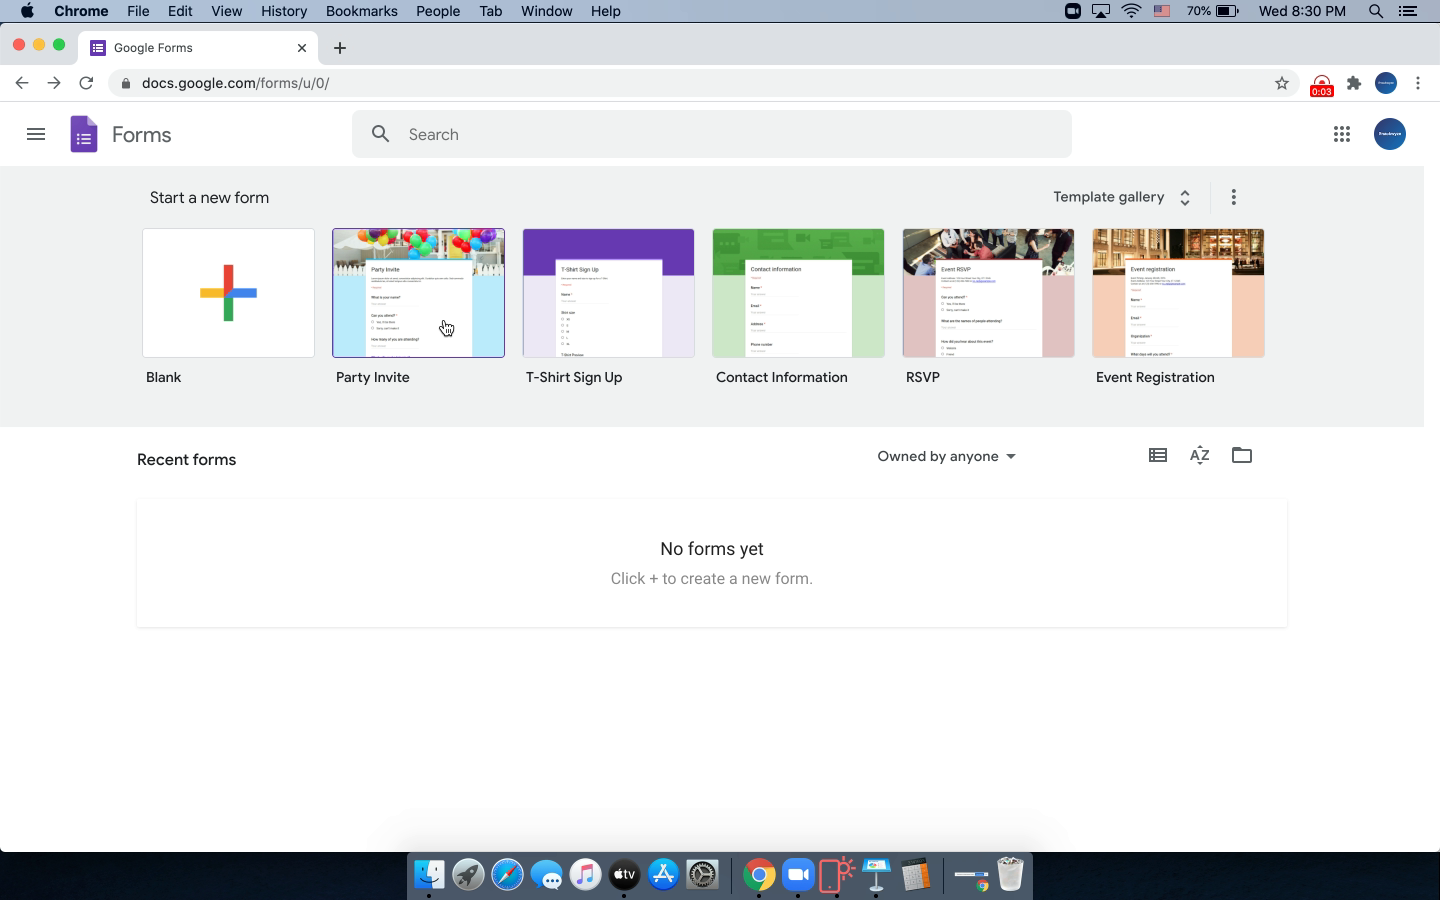
- Let us start with an existing template
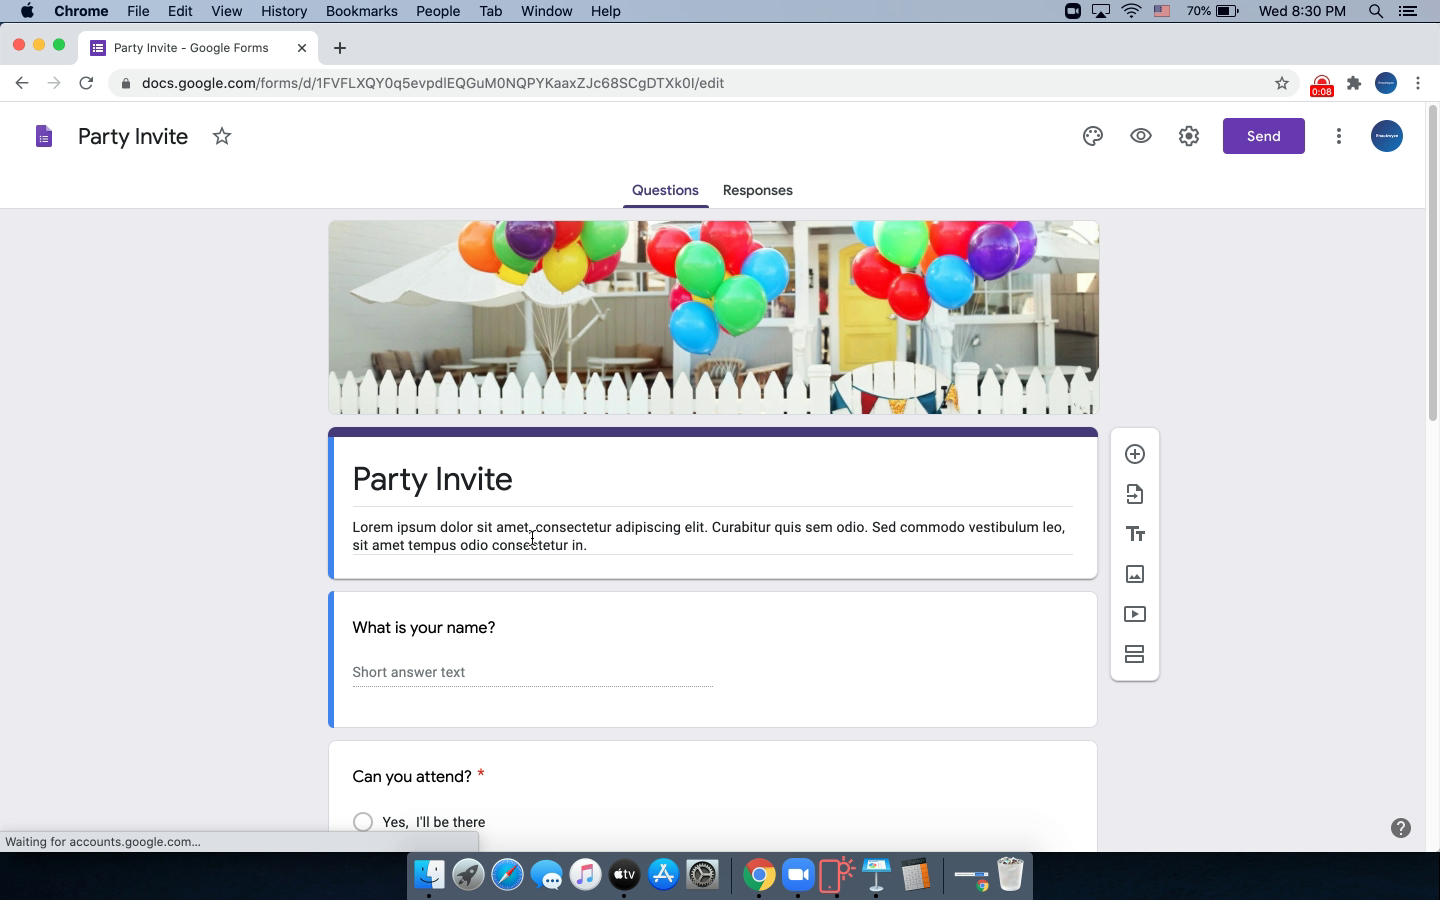
- Add a desired message
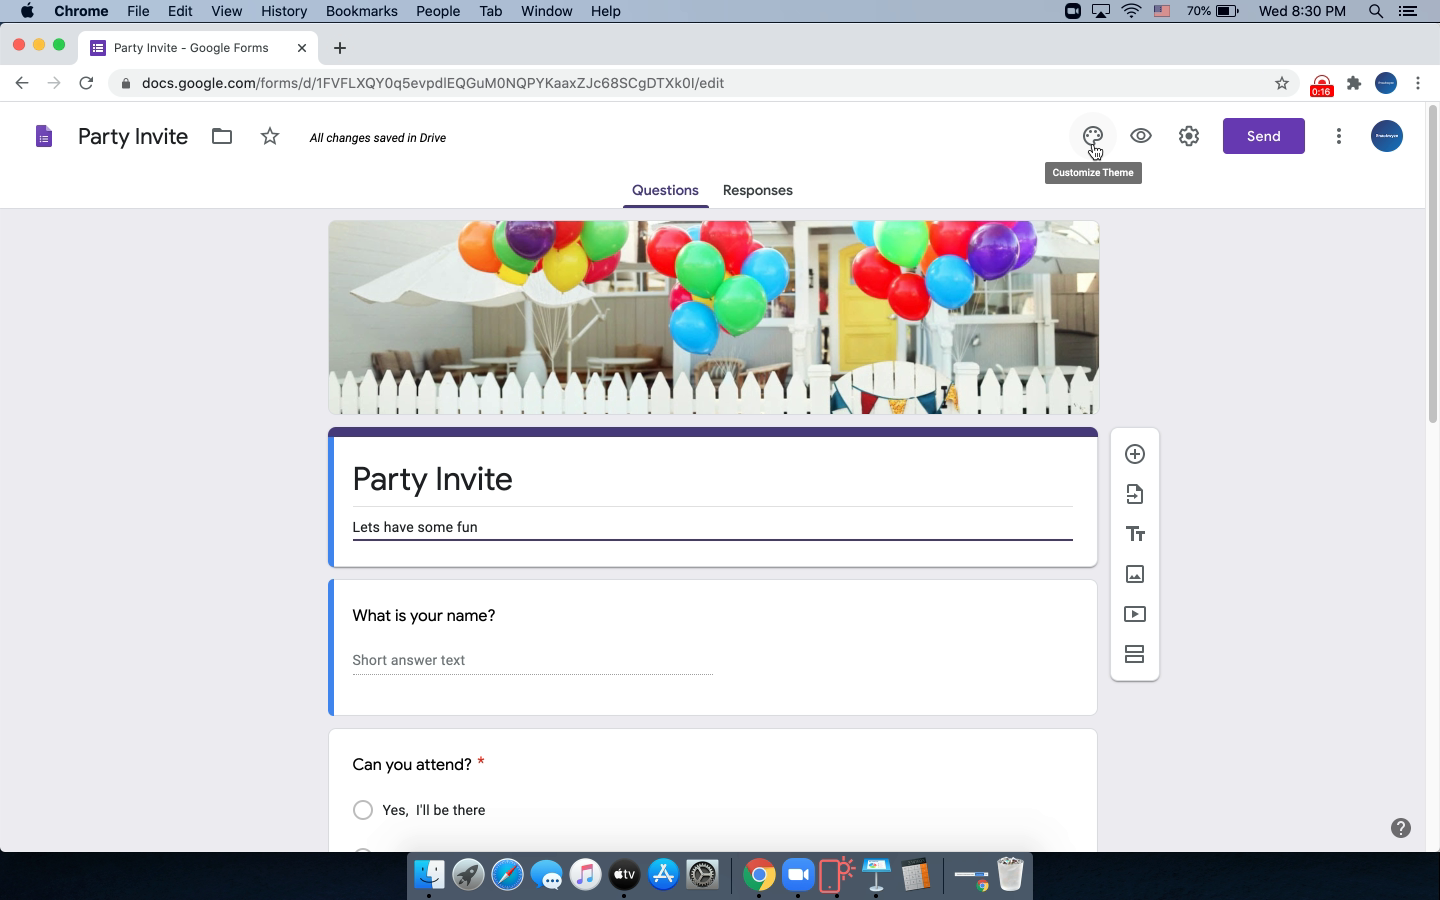
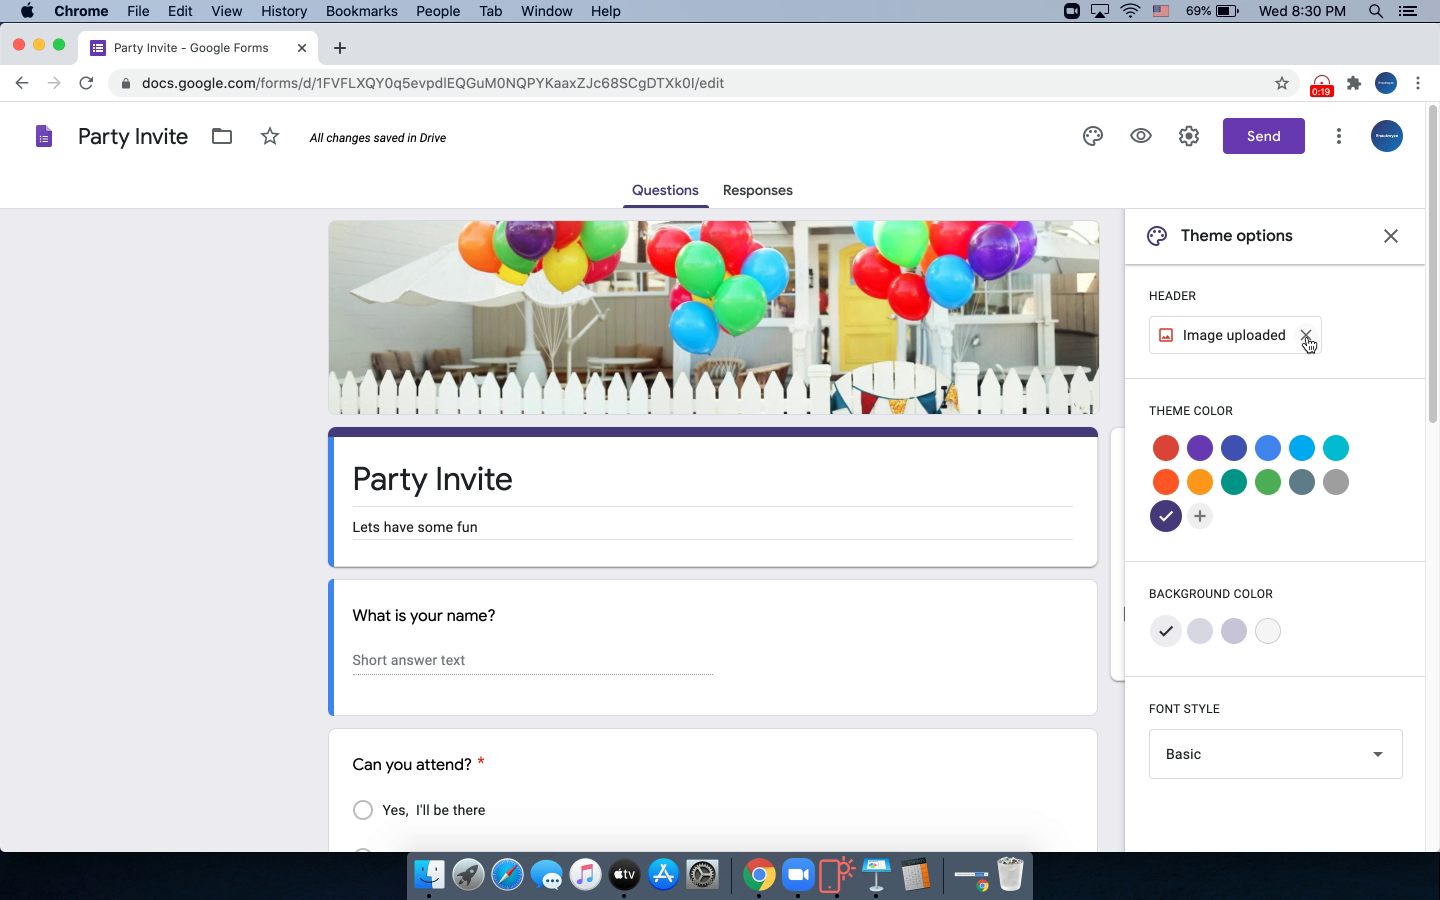
- Let us customize the theme
- Delete the pre-selected image first
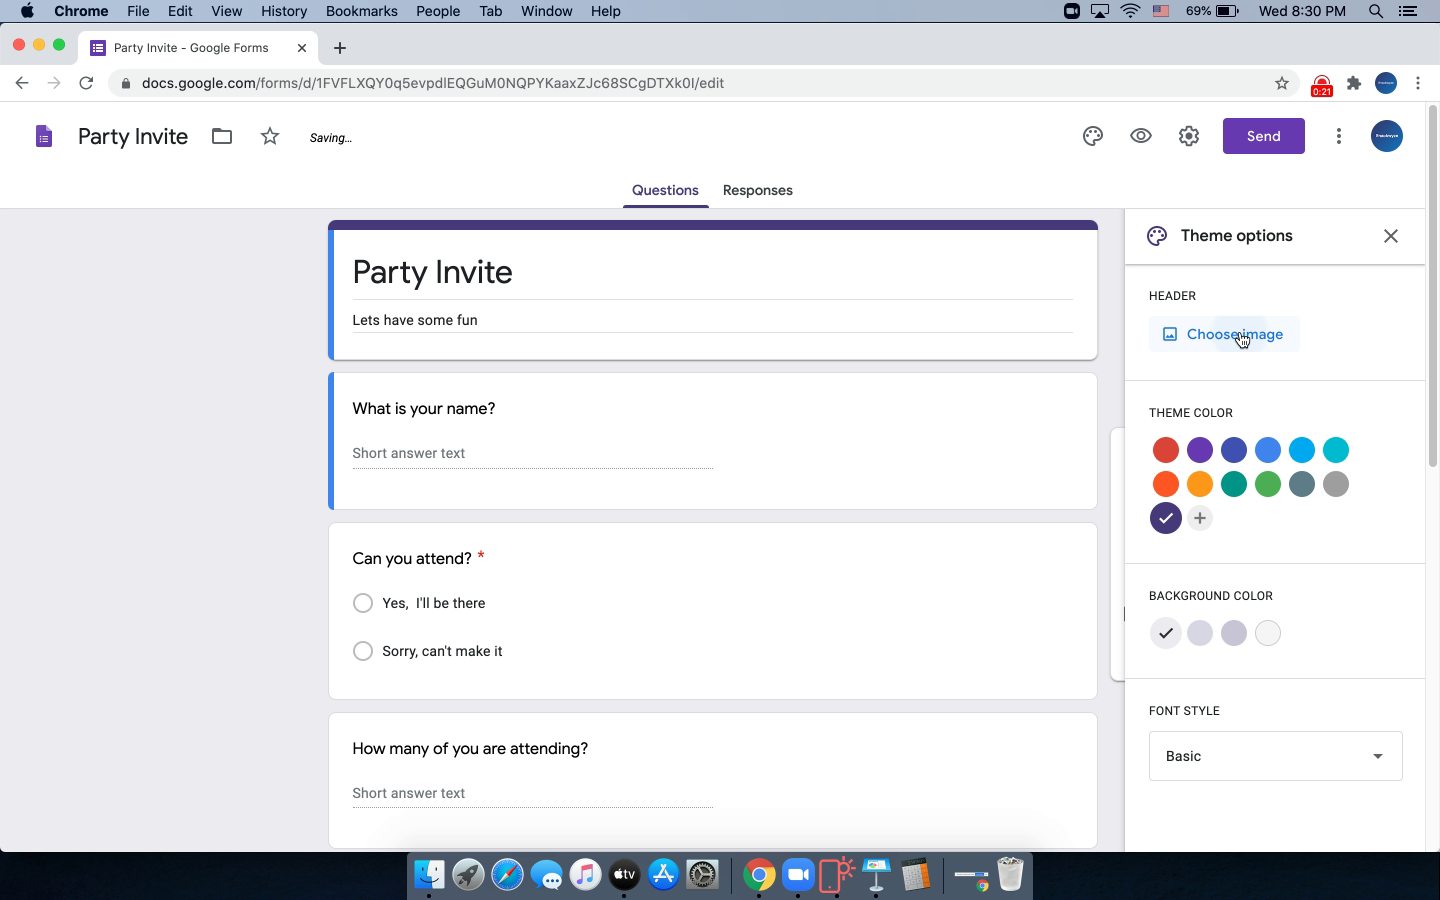
- Choose a new image for the header
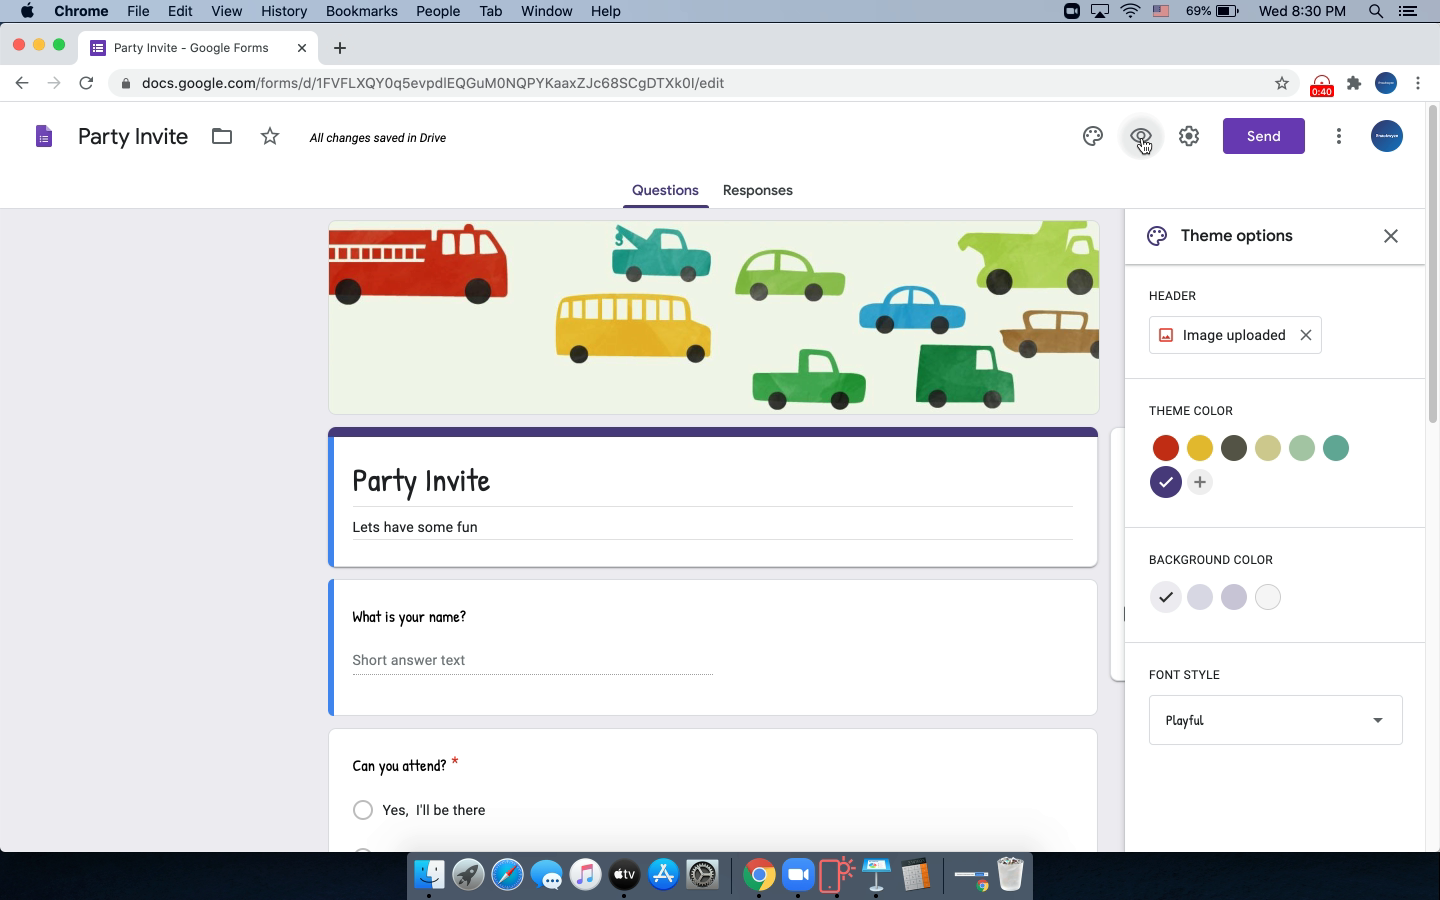
- Choose a theme color
- Choose a desired font
- Choose the desired font
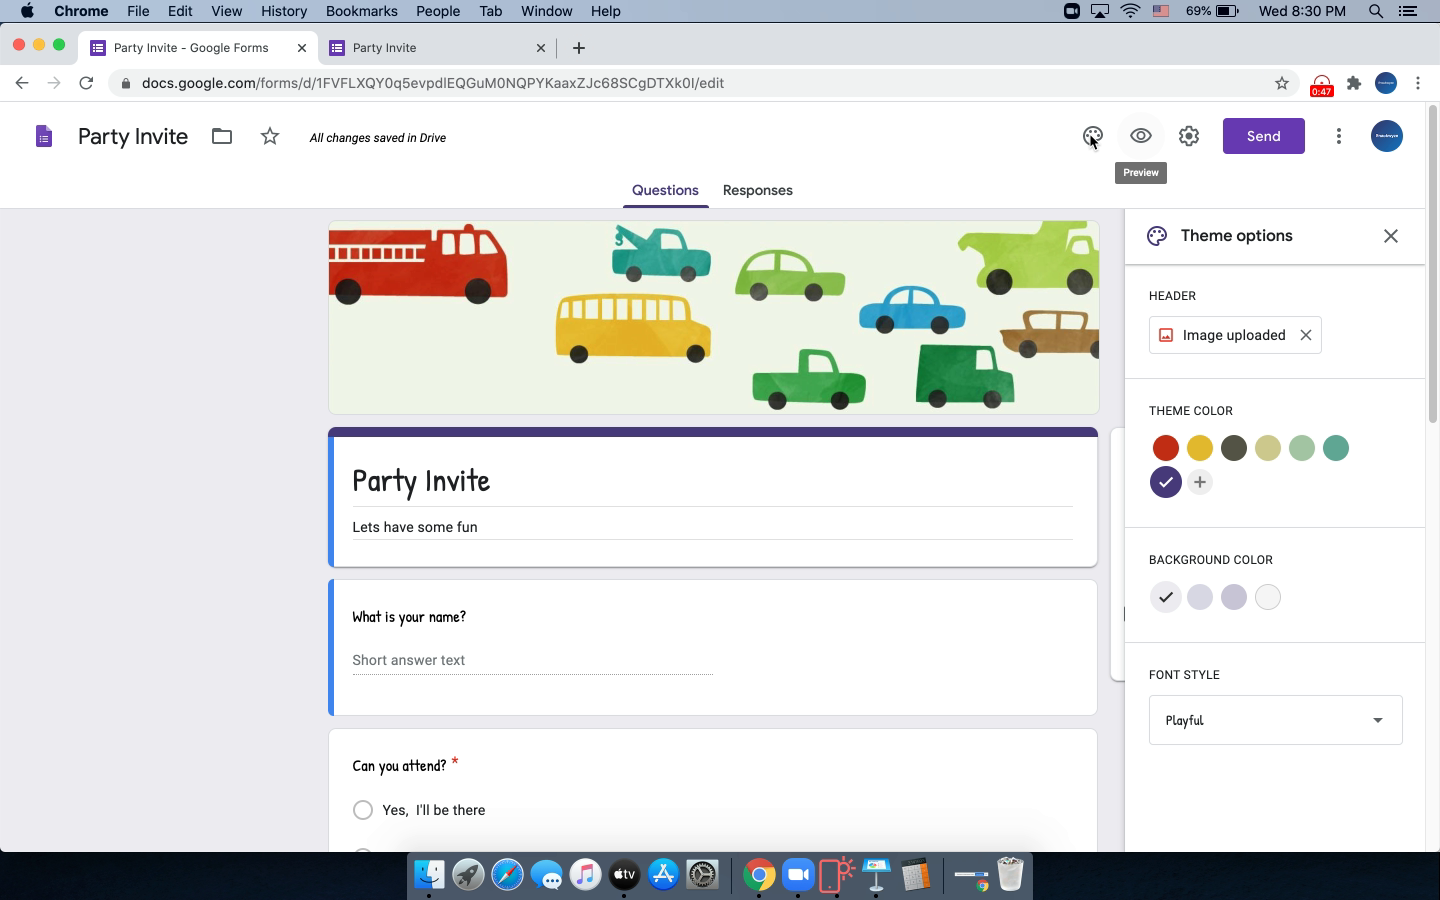
- Preview changes
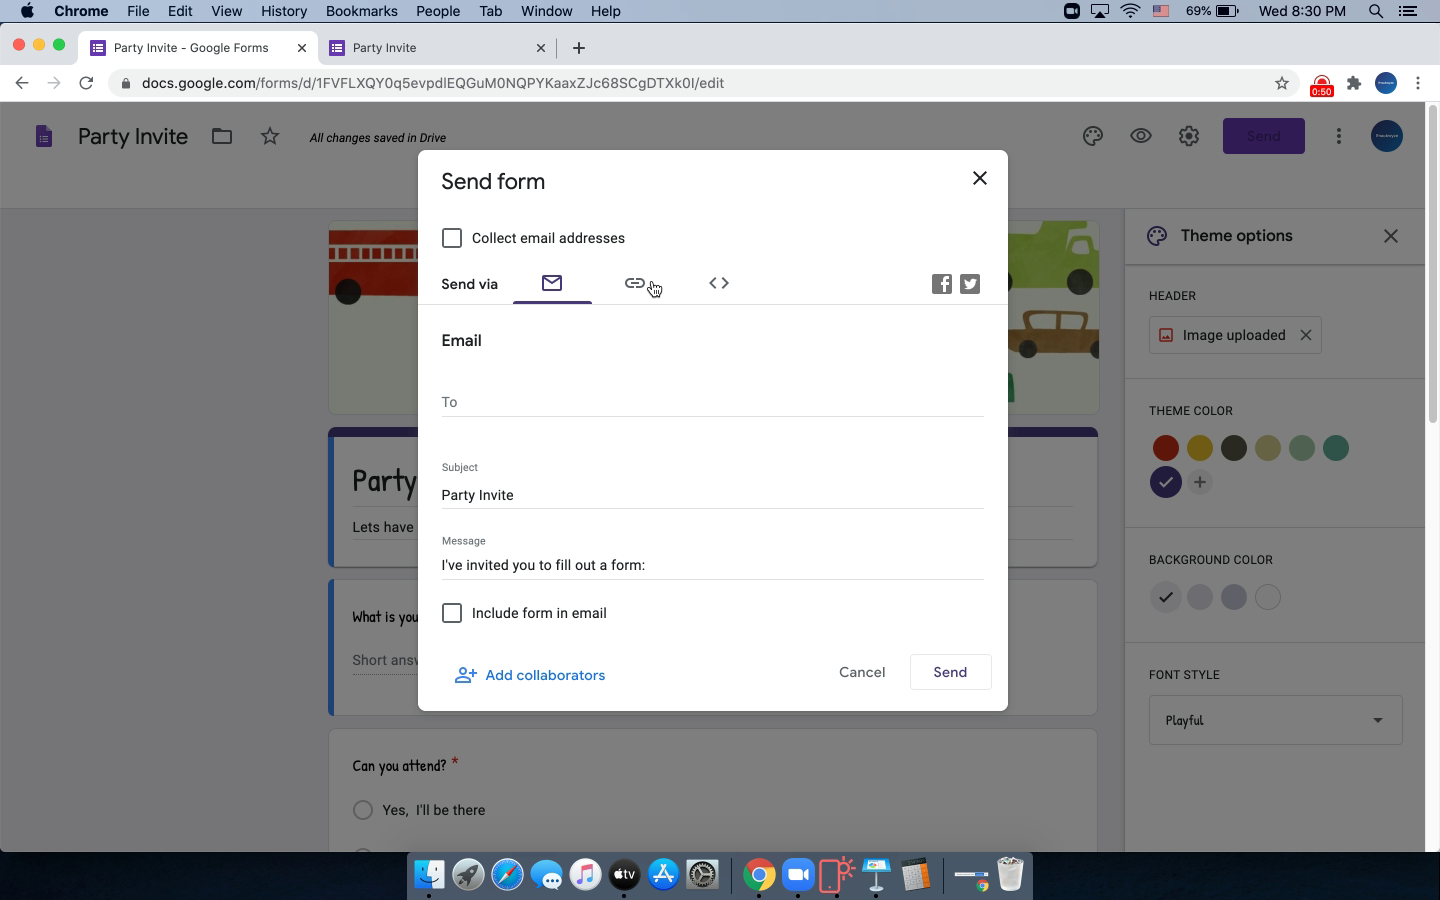
- Let us look at the sharing options
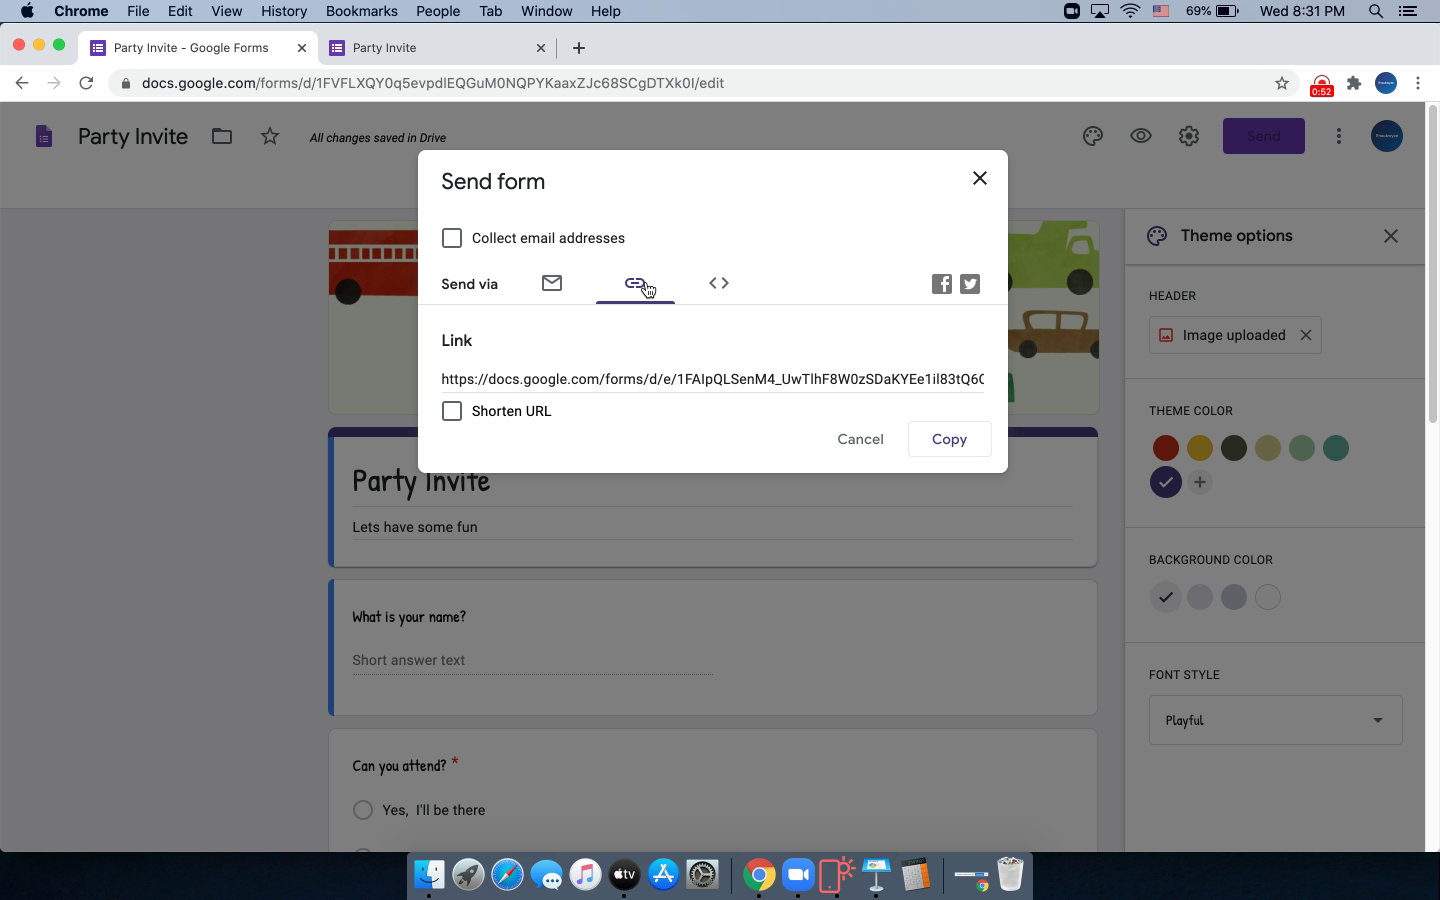
- Click to view the custom link
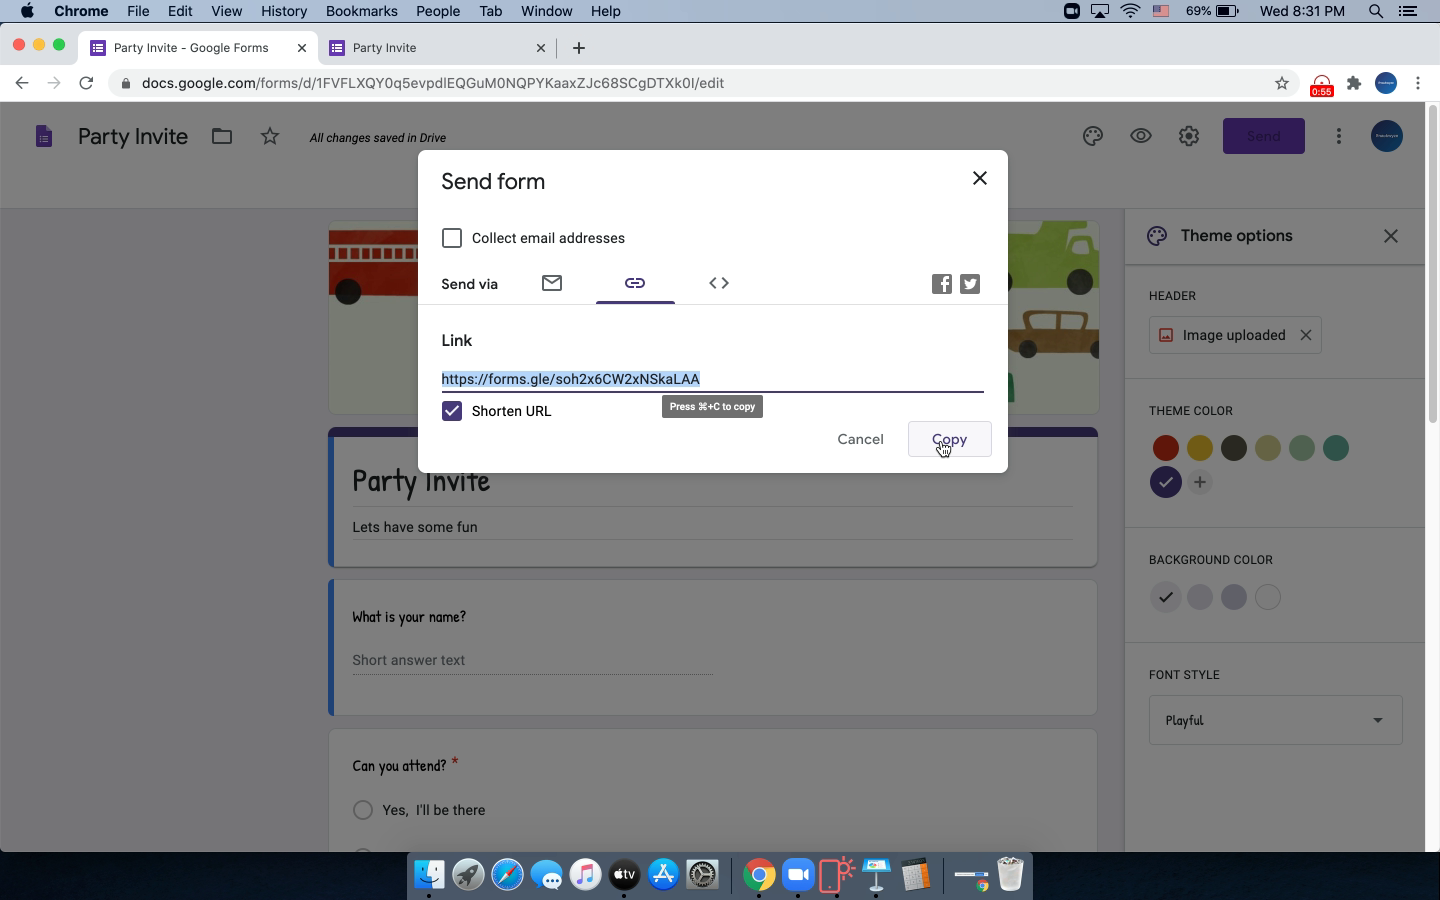
- Shorten the URL for easy sharing
- Copy the URL to share using email
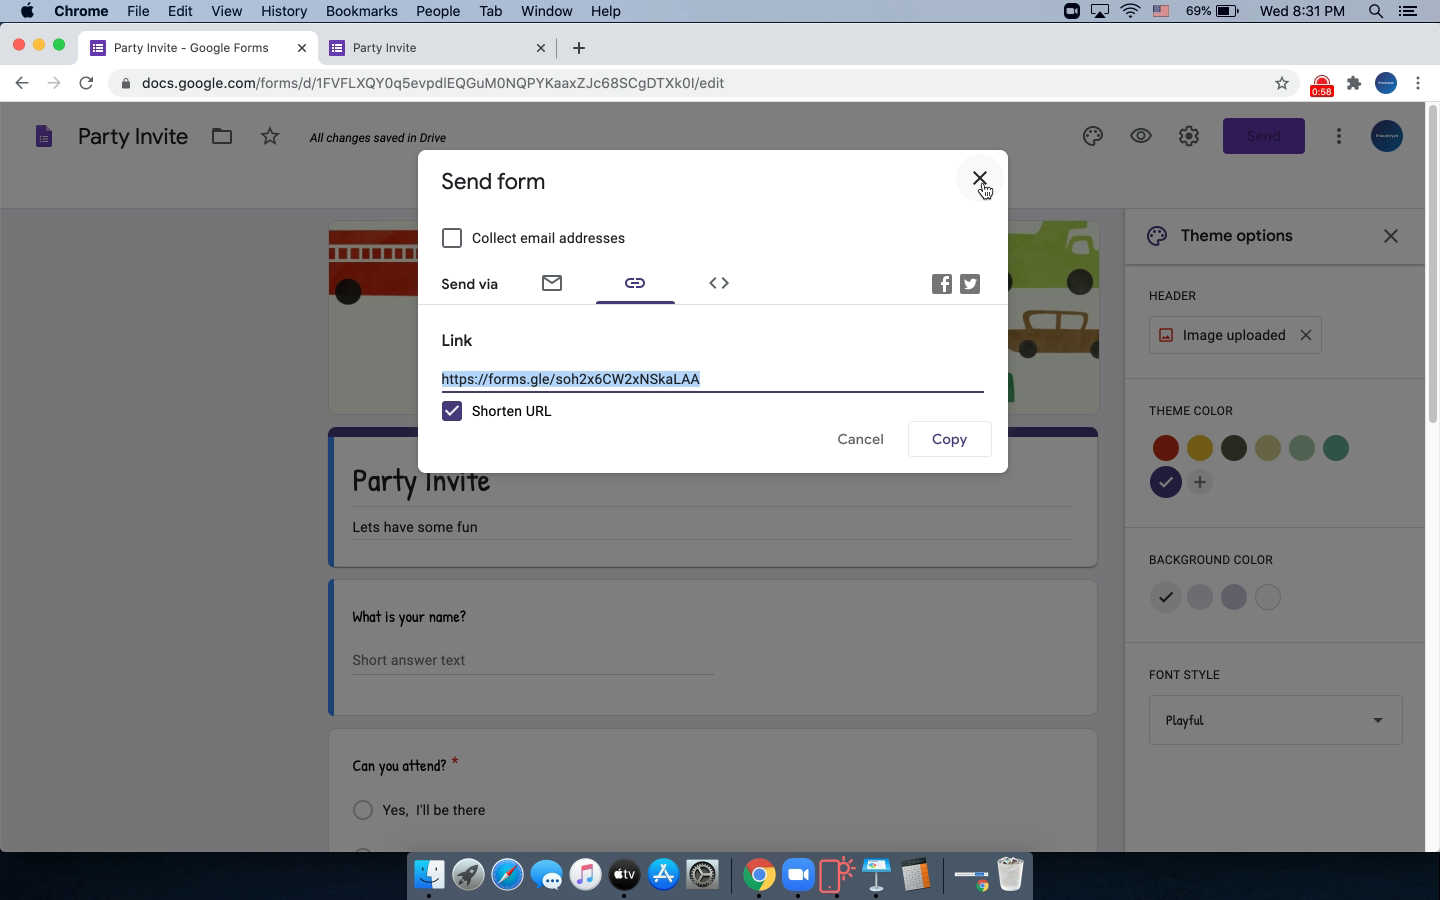
- Close the dialog box to proceed
- Add Title
Steps
- Let us start with an existing template
- Add a desired message
- Let us customize the theme
- Delete the pre-selected image first
- Choose a new image for the header
- Choose a theme color
- Choose a desired font
- Choose the desired font
- Preview changes
- Let us look at the sharing options
- Click to view the custom link
- Shorten the URL for easy sharing
- Copy the URL to share using email
- Close the dialog box to proceed
- Add Title
1
Look at me
Steps
- Let us start with an existing template
- Add a desired message
- Let us customize the theme
- Delete the pre-selected image first
- Choose a new image for the header
- Choose a theme color
- Choose a desired font
- Choose the desired font
- Preview changes
- Let us look at the sharing options
- Click to view the custom link
- Shorten the URL for easy sharing
- Copy the URL to share using email
- Close the dialog box to proceed
- Add Title
1
look here!
Steps
- Let us start with an existing template
- Add a desired message
- Let us customize the theme
- Delete the pre-selected image first
- Choose a new image for the header
- Choose a theme color
- Choose a desired font
- Choose the desired font
- Preview changes
- Let us look at the sharing options
- Click to view the custom link
- Shorten the URL for easy sharing
- Copy the URL to share using email
- Close the dialog box to proceed
- Add Title
1
check this out
Steps
- Let us start with an existing template
- Add a desired message
- Let us customize the theme
- Delete the pre-selected image first
- Choose a new image for the header
- Choose a theme color
- Choose a desired font
- Choose the desired font
- Preview changes
- Let us look at the sharing options
- Click to view the custom link
- Shorten the URL for easy sharing
- Copy the URL to share using email
- Close the dialog box to proceed
- Add Title
